Posts

All Painted Up

Image
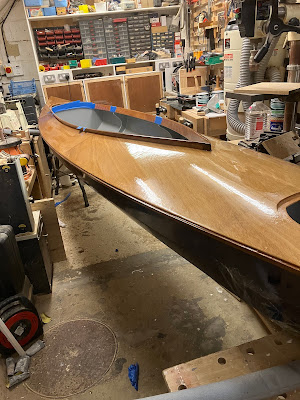
  Well, I have finished a primer and two coats of gloss on the hull, Three coats of varnish on the deck and a primer and two coats of gloss in the cockpit.  It's not perfect (or even close) but I am pretty happy with it as it stands. The desk hatches are also varnished on the top and painted underneath. So left to do... Fit the bulkhead plugs, pad-eyes and deck hatch seals and fittings. Install the footrests. Then, with a bit of luck I maybe able to carry out the first launch in March...!
Priming the Bottom

Image
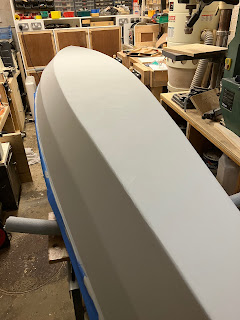
  The hatch covers fitted perfectly without any further messing about (this was more by luck than judgement), but this meant I could move onto painting the hull. I have started with a coat of primer/undercoat, applied with a small foam roller. This wasn't absolutely necessary as its going onto epoxy, rather than bare wood, but I'm pleased I did it as it's given a very nice surface to paint onto.

Repairing the hatch covers

Image
 It's got up to about 15 degrees centigrade in the garage so it's time to get going on the kayak again. The hatch covers didn't fit properly - I think I forgot to allow for the springiness of the plywood. I chiseled off the cross braces, then used a violin-makers plane and a scraper to finish the job. The new cross braces have a smaller radius than required and I am hoping that that they will now fit correctly. If not, I can shave away some of the cross brace wood (like tuning a guitar belly) until the curve is correct. I have started with the smaller forward hatch, and I will see how it goes before tackling the rear one.

On with the toggles and into the shed

Image
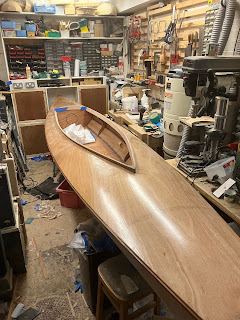
I turned a couple of toggles on my lathe, and then (with some help) moved the boat into the shed for the time being. I need to sand the epoxy flat and varnish the deck, and also paint the hull and cockpit.

I hate epoxy

 When I coated the deck with glass fibre and epoxy, I think I made a mistake. As far as I  know, epoxy must be added to a previous coat before it has cured completely so the two layers can bond chemically. Alternatively, the previous coat can be sanded to give it a 'key. if it has already cured. I was aiming for the first scenario, but for whatever reason the top coat did not stick. I had no choice, really - I had to scrape and sand down to a solid base (the glass fibre in this case).  I have completed this, sanded with 60 grit and recoated with (hopefully) a final coat of epoxy.

Against the clock

Image
We are having some electrical work done soon, and the contractors will need access to the garage... so the boatbuilding is now against the clock. I have fitted the rubrails (lots of nails) and I have also cut out the two deck hatches (not shown in the photo) using a tiny router bit in my Dremel, and then a piece of junior hacksaw blade. Today I made and fitted the bits that the hatches fit into, and these will get epoxied into place in two 'sittings'. I hope to move the boat to the shed at the end of the week... Some of the top epoxy coat on the deck delaminated as I was cutting out the hatches - It may have been better to cut these out before glassing the deck. 

Clampathon

Image
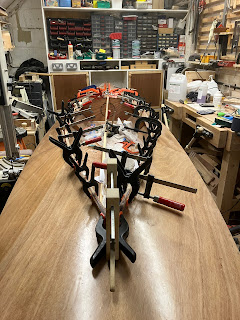
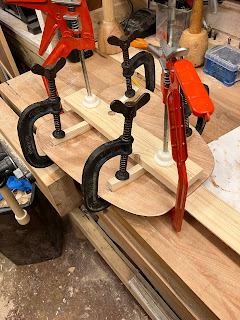
  This should be the last time I need to get all my clamps out as I glue on the trim that goes around the top of the cockpit coamings.  After this I need to fit the rubrails, fit the hatches and start the painting an varnishing work.